I’ve not written up the cards in a form I can post yet, so that will have to wait for tomorrow. However, I can show you some pics of the Marauders and Rebels in a scrap this afternoon, mostly with the right models too – well, some of them at least 🙂
Ronnie took the Rebs and Stew the Marauders. Here are some highlights.
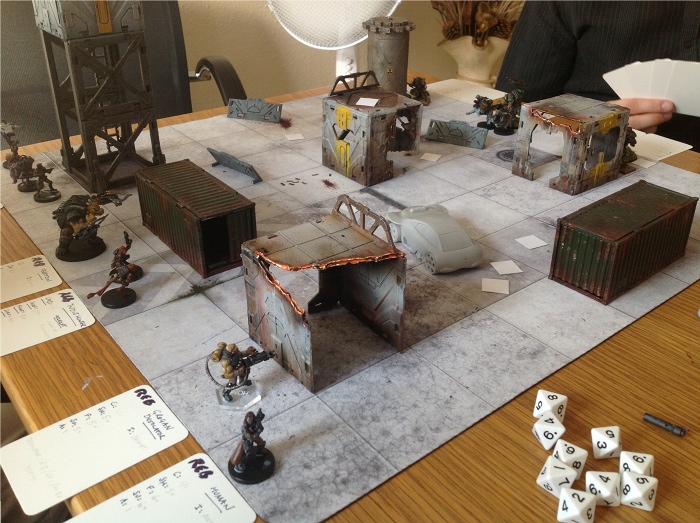
 The opening scene with the Rebels on the left. The forces are within a model of the starter boxes IIRC.
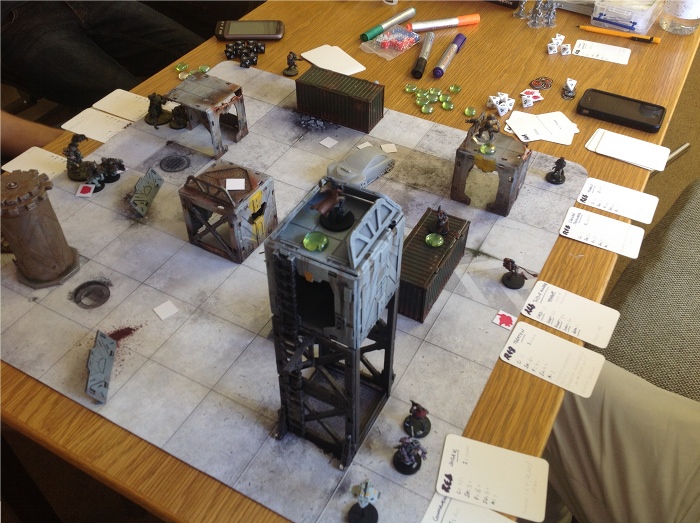
 Ronnie has snuck his commander (who happens to have a sniper rifle) onto the top of the tower and into a commanding position that mirrors his Grogan with the heavy weapon on the right. This turns the battlefield into something of a shooting gallery.
 A few moves later, Ronnie is lining up a shot that Stew doesn’t seem to find very worrying. You can see Ronnie’s dead commander just to the right of the board. She didn’t get to do much sniping after all.
 Another Rebel amusement is the Sorak with the blaster. These non-lethal weapons are designed to force people out of positions. On either side of the building on the left (with the yellow stripe) you can see a pinned Mawbeast. Both were hiding behind the building before the Sorak had his shot. The Teraton looms menacingly nearby, perhaps debating which one to stomp first. Mind you, they do explode…
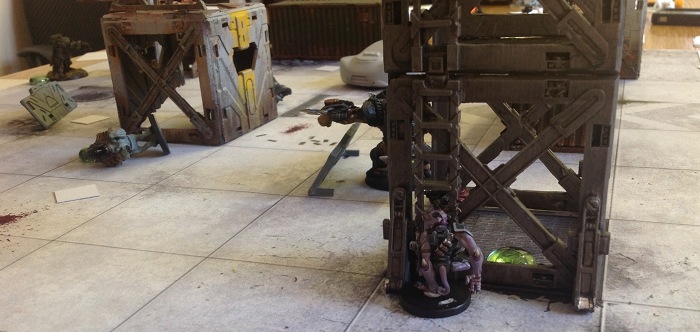
 After an even start to the game the combination of interesting dice rolls and Ronnie’s tactical genius¹ meant that the Marauders began to run very low on models. Here you can see Rebel Teraton charging at the remnants of the Marauder force: two Goblin snipers and their Commander. This was where the game ended with a convincing victory for the Rebs.
So that’s a taster of what we’re up to. More tomorrow 😉
 1: he made me say that.